You may have seen TV commercials and magazine articles that talk about the "dawning of the new age of personal video." It is an age in which anyone can sit down at a home computer and produce a studio-quality motion picture. All you need is a video camera, the right software and a desire to create something. With today's camera and computer technology you can:
- Create a really nice rendition of your summer vacation -- far better than "home movies"
- Produce an unbelievable video presentation for work
- Create a full documentary film on any topic or issue you wish to promote
- Create your own multi-million dollar blockbuster movie, just like The Blair Witch Project
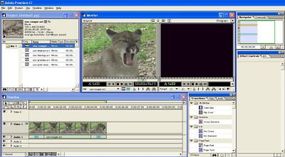
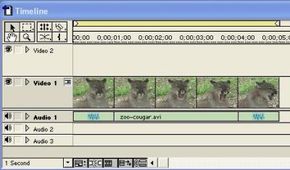
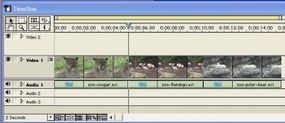
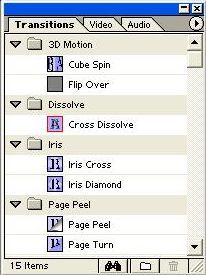
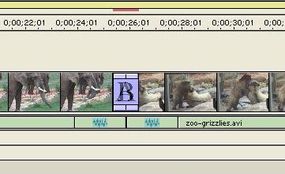
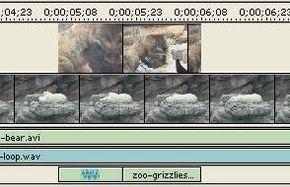
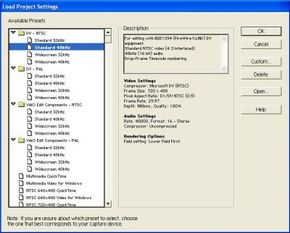
That's the idea, anyway. If you have ever tried to sit down and do it yourself, however, you know that it's not as easy as it looks. In fact, with the more advanced software packages, it can be nearly impossible to get started because they are so complicated. For example, when you open Adobe Premiere -- a video editing software package -- you are faced with this initial dialog box:
Advertisement
If you have ever thought about producing your own high-quality videos on your computer, but haven't gotten started either because you didn't know where to start, or because it all seemed WAY too complicated, then this article is for you! In this article, we will dive deep into the world of home video editing. You will learn:
- What is possible
- What you really need -- in terms of equipment and software -- to make it happen
- The concepts you have to understand in order to use any of the popular editing packages
Plus, you will learn how to download and set up a free demo version of Adobe Premiere so that you can try out all of these concepts on your own! At the end of the process, you will be surprised to see just how much you can do with today's technology and how easy it is to get started.
Advertisement